
Congratulations, you have finalized your contractual discussions and are now ready to dive into Sitecore Personalize, a powerful tool for Personalization. But before you begin, there are important steps to get access for you and your team. Let me explain how we did it, including minor issues we faced, so you can avoid them.
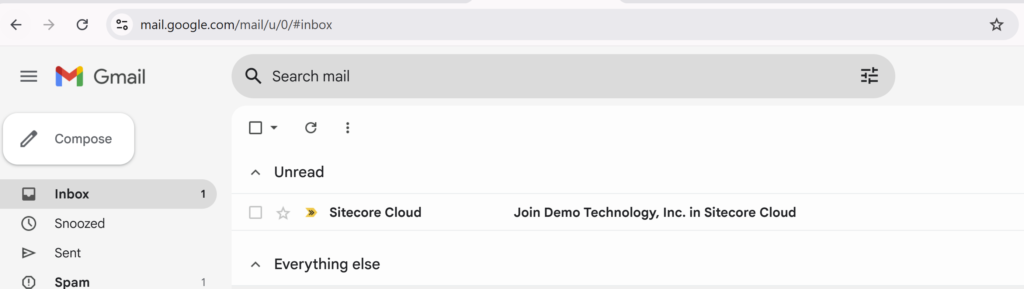
Problem We Faced: The Activation Email Went Missing
In our case, we already had Sitecore license. But when we asked for Sitecore Personalize access, the first “organization admin” invitation email was sent but never found (maybe because of spam filter we could not find it). It was sent to the person who signed the contract but we wanted this to go Sitecore Architect who can take care of the setup and user access etc. The problem? Sitecore sends this email only once. So we could not find it!
How We Fixed It:
- Go to Sitecore Support Portal and create a ticket.
- Use this title for ticket: “Item: Resend activation email and/or change organization owner.”
- Ask Sitecore Support Team to update admin email to your Architect’s email.
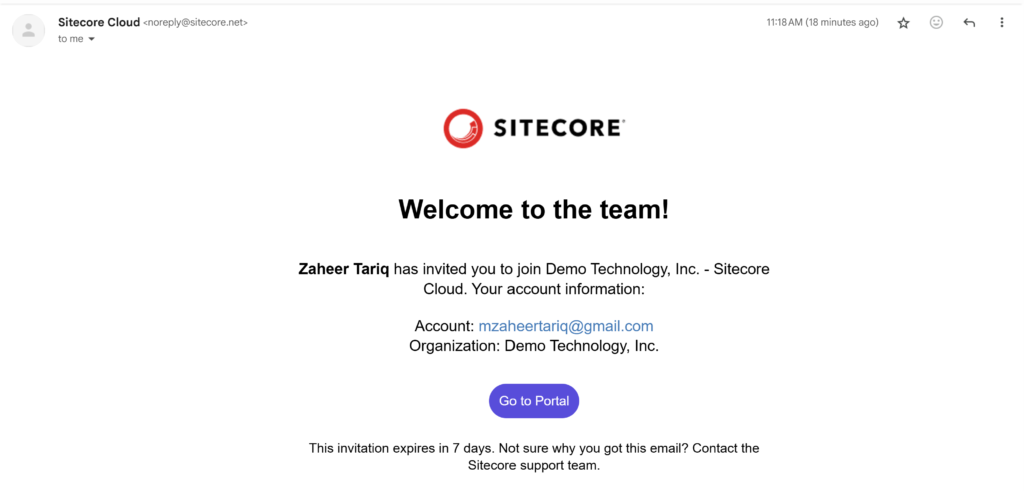
After this, Sitecore will send new invite link to designated person.
Step 1: Accepting Your Sitecore Personalize Invitation
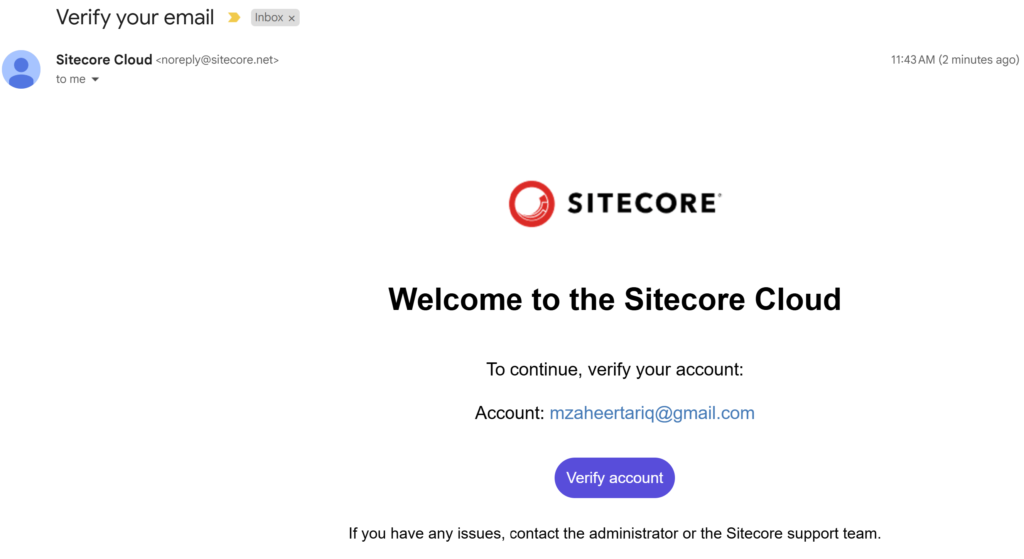
After receiving the invite link via email:
- Click the “Go to Portal” button in the email.
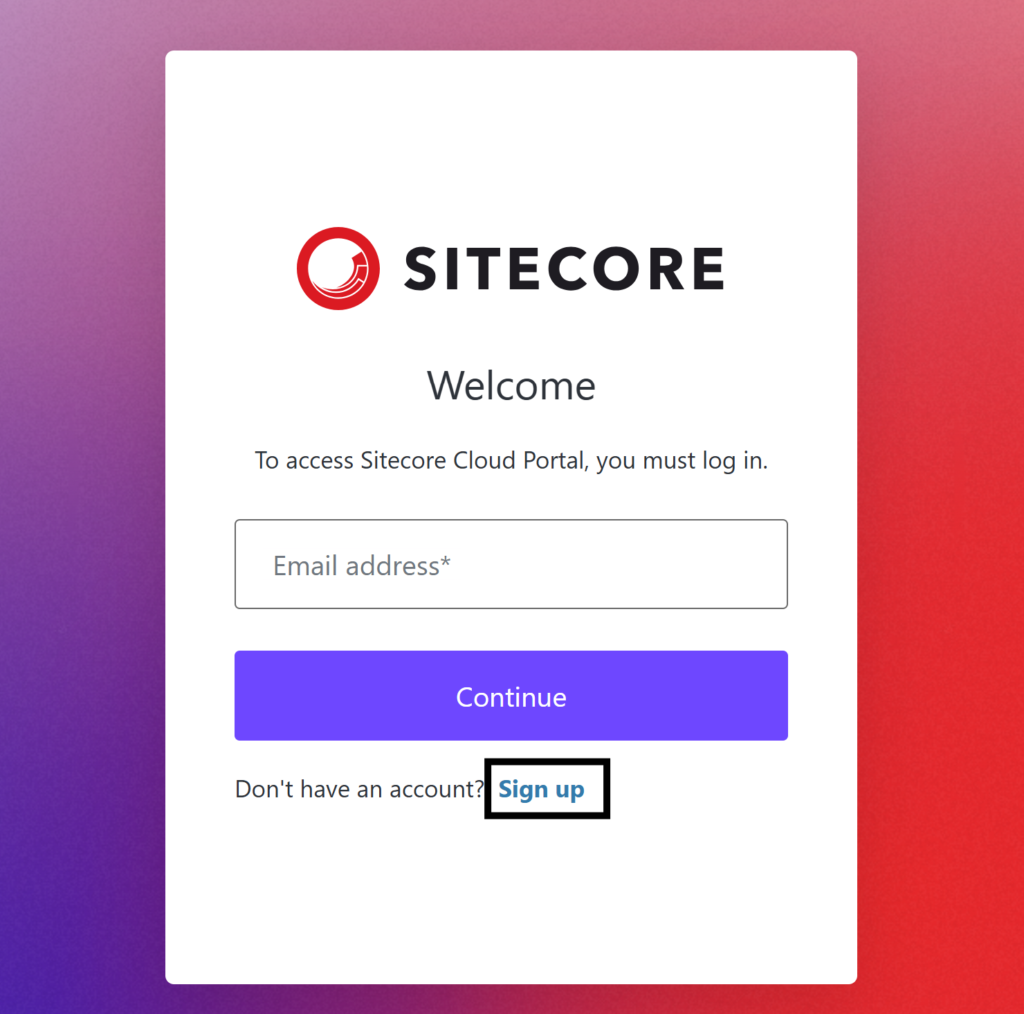
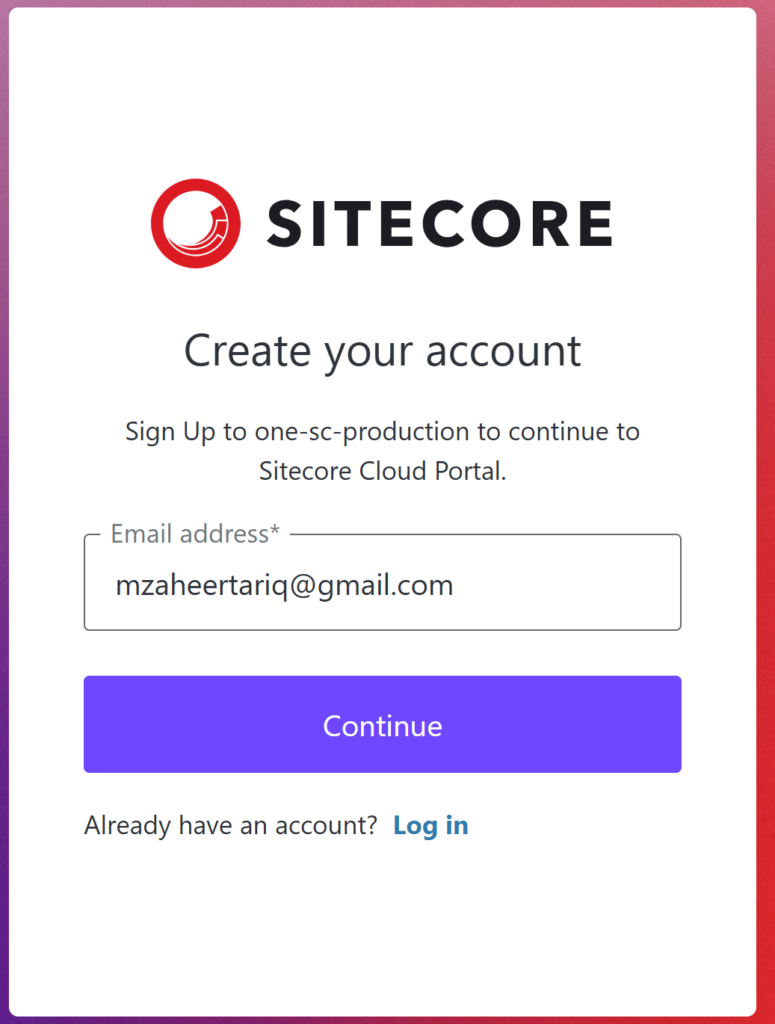
- If you don’t have an account:
- Click “Sign Up” and register using your email.
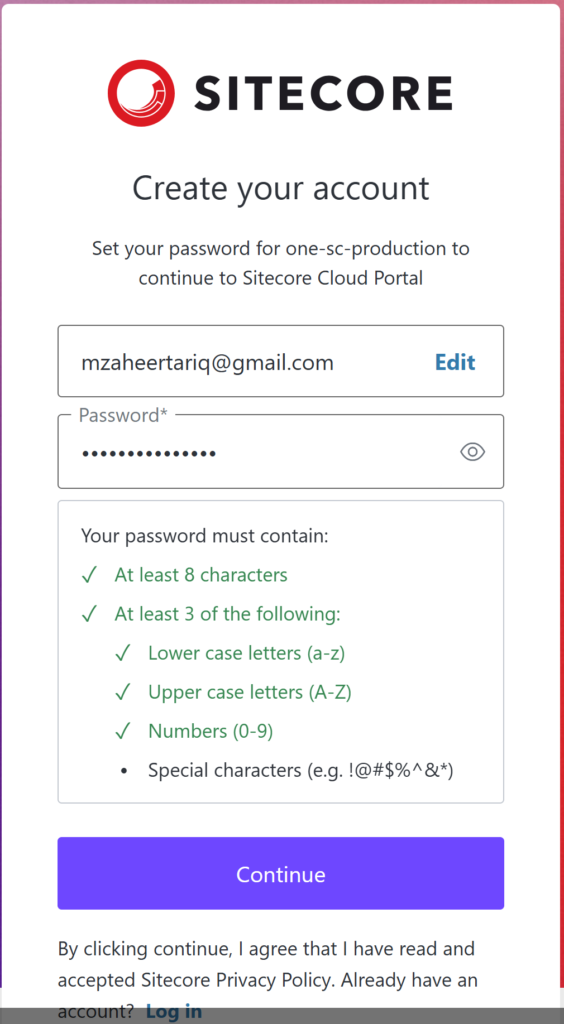
- Create a password.
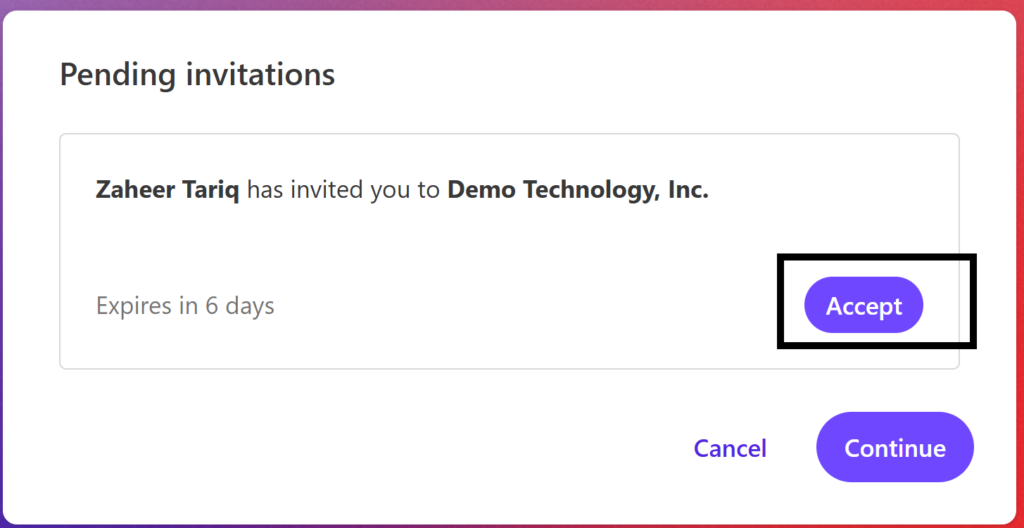
- On the next screen, locate “Pending Invitations” and accept yours.
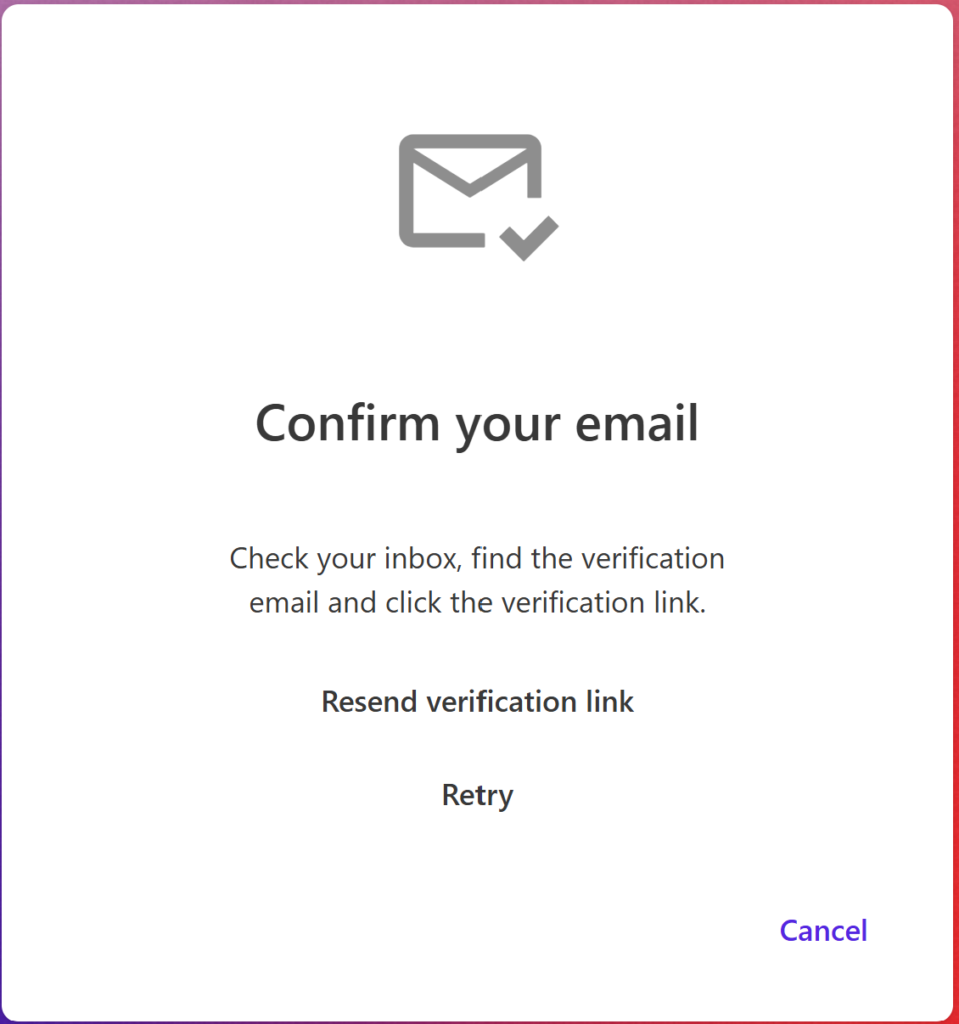
Important: You have 6 days to accept, or link expires! - Check your email again and click “Verify” link to confirm your email.
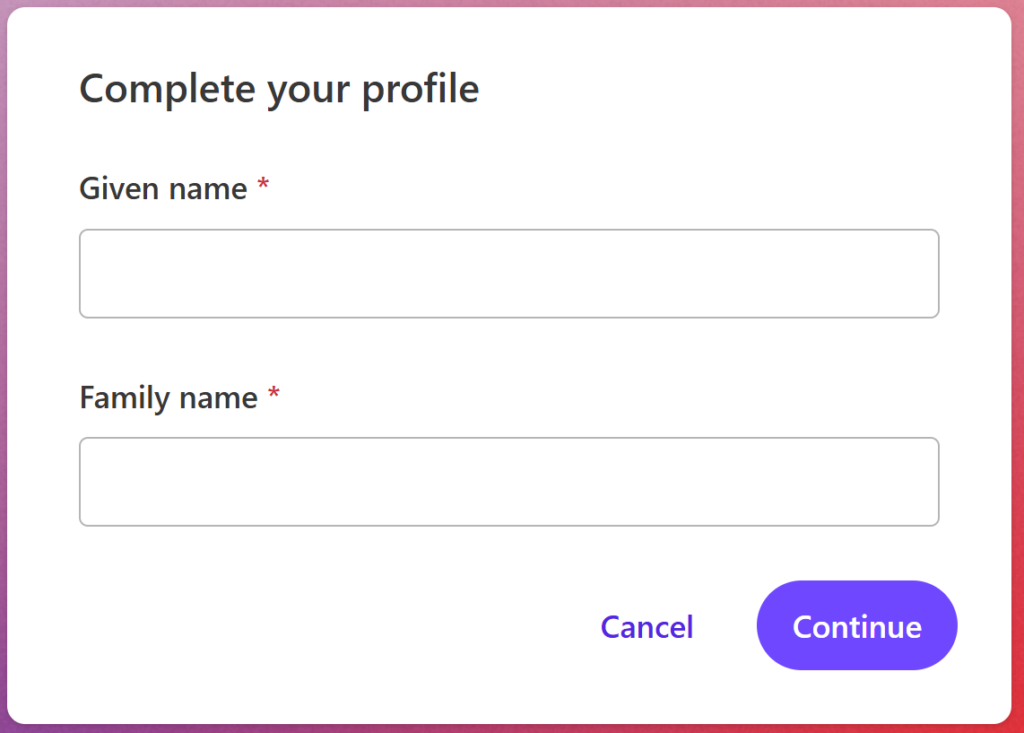
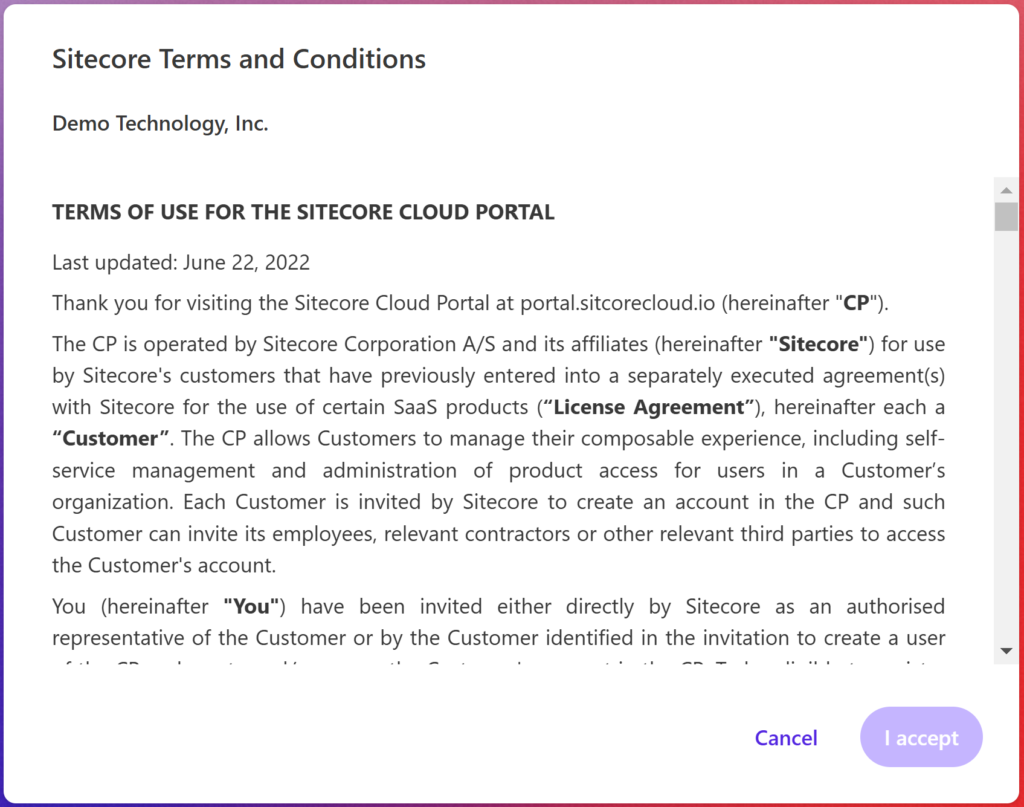
- Fill your First Name and Last Name, then accept Sitecore’s terms.
The “I Accept” button is at bottom. You must scroll down to enable it!
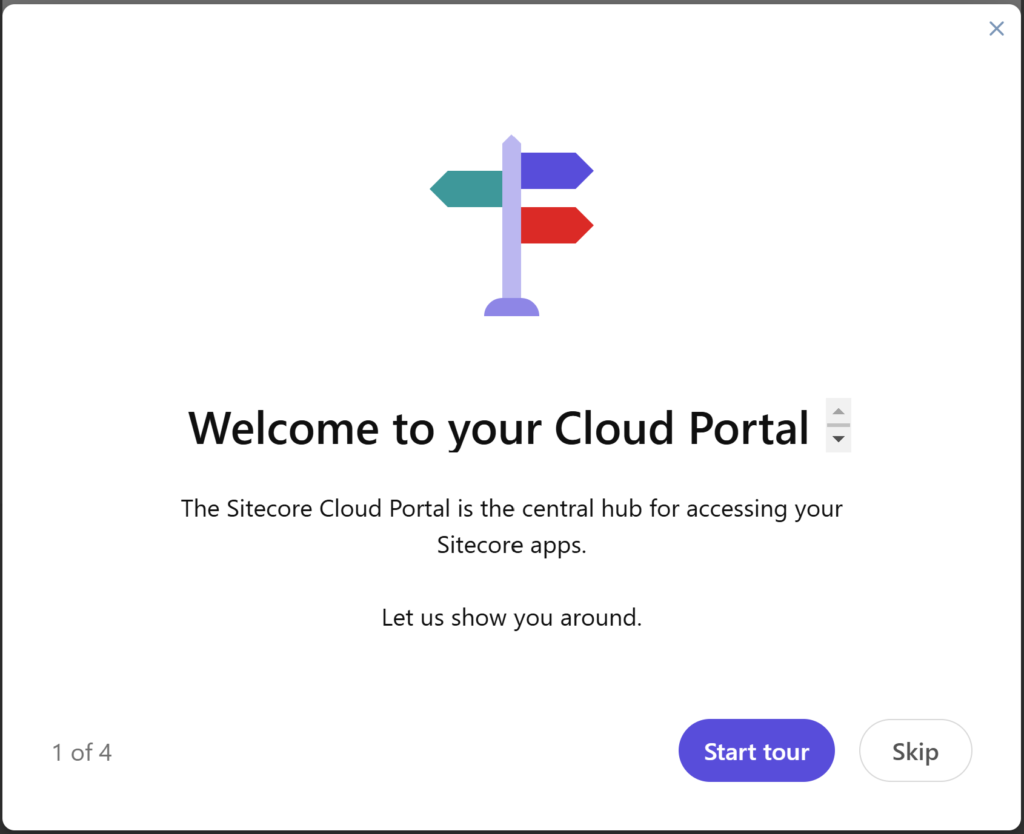
You’re now inside the Sitecore Personalize (Cloud Portal)
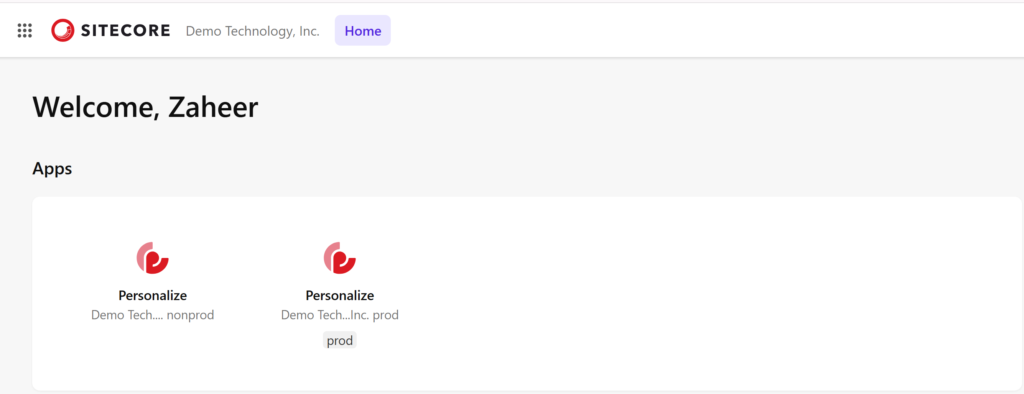
Step 2: Understanding Instances and Access Levels
Sitecore Personalize typically provides two instances:
- Prod (for live website)
- Non-Prod (for testing)
What you see depends on your role, Sitecore Personalize comes with three main roles
- Owner/Organization Admins – Highest access level. See all apps and instances.
- Admins – Can see and access all apps
- Users – Can only access Apps you specify
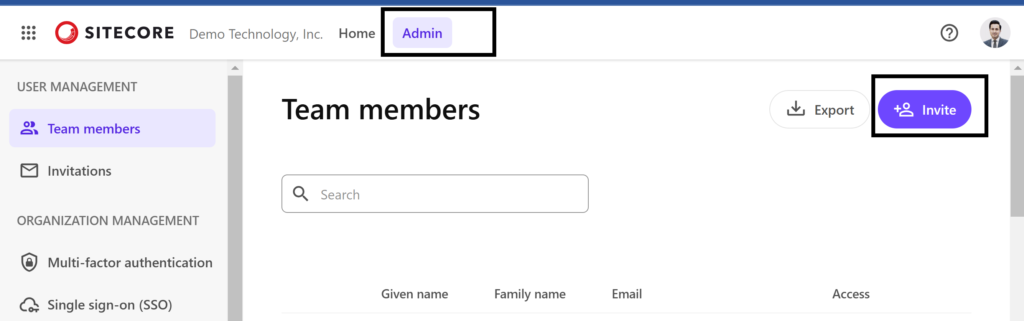
Step 3: Inviting Team Members
If you are admin, follow these steps to add others:
- Click the “Admin” button at the top of the portal.
- In the “Invite Users” pop-up:
- Enter or paste multiple email addresses.
- Assign Organization Access (User, Admin, etc.).
- Click “Add App” to select which apps (e.g., Personalize) and instances (Prod/Non-Prod) to grant access to.
- Set permissions (e.g., Viewer, Editor) for each app.
Your team will receive invites to join.

Single sign-on (SSO) – Optional Step
With single sign-on, your team can log in to your Sitecore Cloud Portal organization and apps using your existing identity provider. You will need to work with you security/infra team to set this up.
Setting up an SSO connection involves a few steps: Add and configure a new connection → Verify the domains → Test the new connection → Enable the new connection.
What’s Next?
With access set up, the next step is integrating Sitecore Personalize into your website or application. Stay tuned for the upcoming blog post, where I will share integration best practices for developers!
Tips from Our Experience
- Double-check email addresses during onboarding to avoid delays.
- If invites go missing, act quickly and create a support ticket immediately.
- Save/Bookmark Sitecore Support Portal link https://portal.sitecorecloud.io
#Sitecore #SitecorePersonalize #UserAccess #DigitalExperience #TechTips