
Sitecore and Solr work together to make search functions work on your Sitecore website. Sometimes, you will need to move Solr to a new server. This can be because of a number of reasons like new hardware, better performance, or changes in your setup. In this blog post, I will walk you through each step of moving Solr to a new server step by step.

Before we start, please make sure the new server meets all requirements for running Solr. It should have enough memory, CPU, and storage.
Step 1: Locate and Copy Solr folder to Destination Server
- Locate the Solr folder, you can do it by checking Solr service properties. To check Solr services, type services.msc in Windows Run and find a service named Solr. Check its properties.
- If you cannot find the path from Solr Service Properties, consider checking C Drive as it is usually located in C drive
- Copy the Solr folder to another folder. If you get an error while copying, you can stop Solr service, copy it and start the Solr service again.
- Zip the folder which makes it easer and faster to copy over network.
- Copy the folder to destination server, you can simply copy paste if you are using Remote Desktop Connection.
- On the destination server extract the copied zip file and move it to the same path as it was on source server.
Step 2: Test if Solr works on destination machine and fix Java Path if needed
- First we will try to test if Solr works before setting it up as a Windows service.
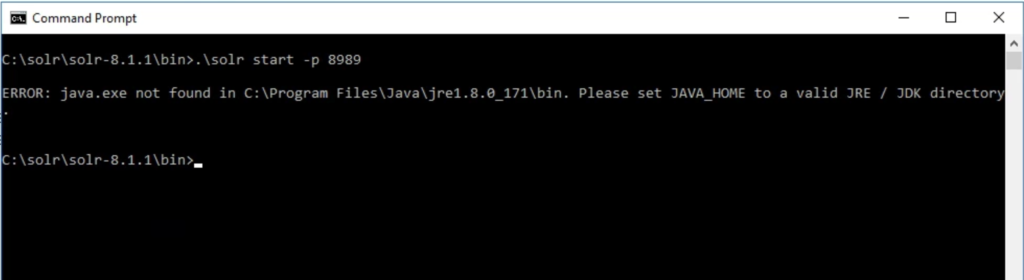
- Open CMD as administrator and run this command C:\solr\solr-8.1.1\bin>.\solr start -p 8989
- If you do not see any error, you can open this in browser http://localhost:8989/solr
- If you get this error “ERROR: java.exe not found in C:\Program Files\Java\jre1.8.0_171\bin Please set JAVA_HOME to a valid JRE / JDK directory.” screenshot below
- Check if destination server have Java installed, if not you can copy Java folder from the source server same way as we copied Solr folder. In this example, Copy C:\Program Files\Java\jre1.8.0_361 folder to new server
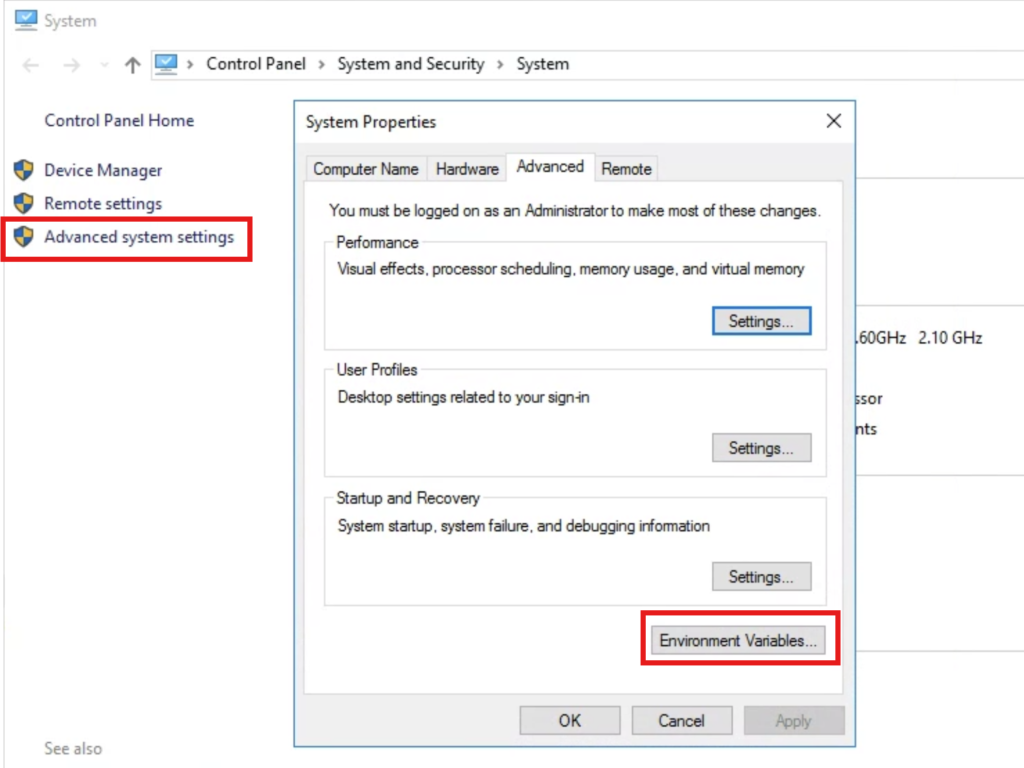
- Next we will need to add System Environment Variable. For this go to
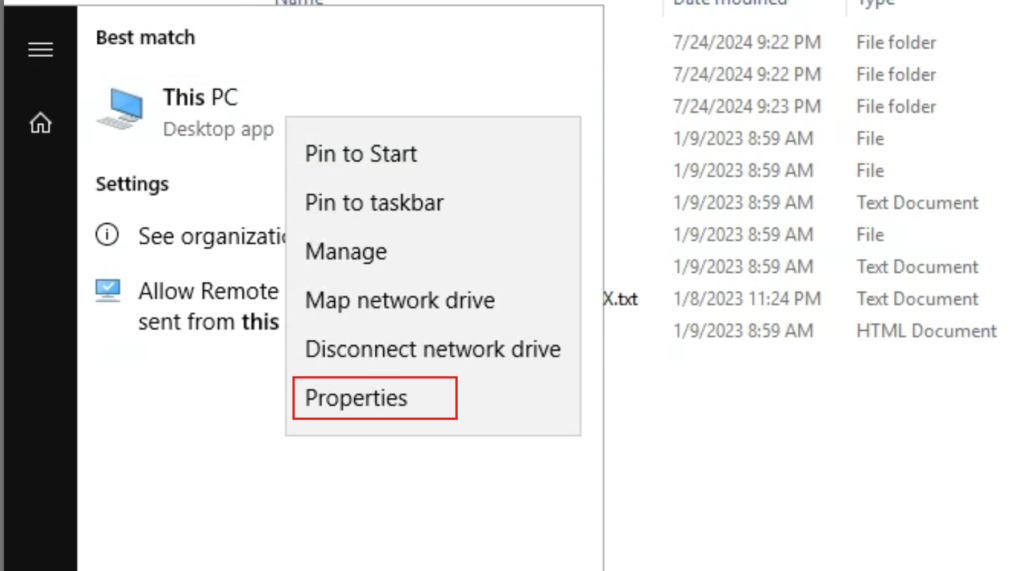
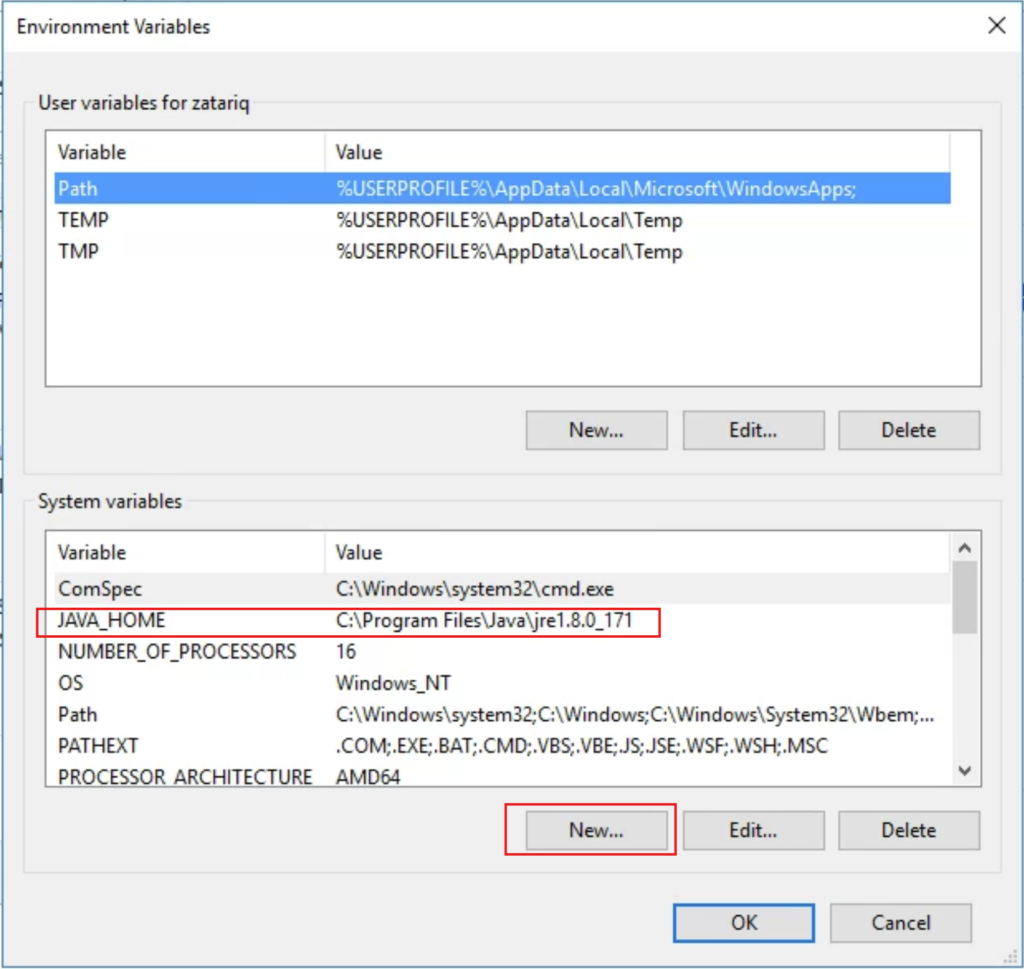
This PC -> Properties -> Advanced system settings -> Environment Variables - Either create a new variable called JAVA_HOME or update if it already exists with a different value to
C:\Program Files\Java\jre1.8.0_171 - Once this is setup, run the command in point # 2 above and test it Solr works in browser
- Once tested make sure to stop it to free up the port before moving to the next step by running .\solr stop -p 8989
- Screenshots below
Step 3: Setup Solr as a Windows Service and setup SSL for Solr
We will use NSSM – the Non-Sucking Service Manager to setup Solr as Windows service
- Download zip file of NSSM from https://nssm.cc/download and extract it to C:\solr\nssm
- Open CMD as Administrator and run this command C:\solr\nssm\win64>nssm install solr_811
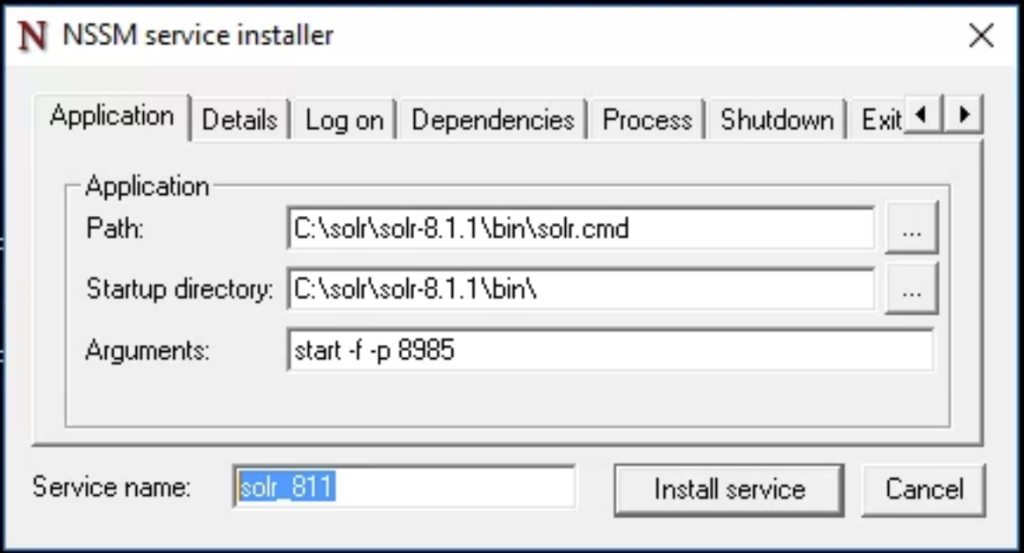
- This will open the NSSM UI dialog which can be used to setup service parameters. Please fill them as follows, also shown in the screenshot
C:\solr\solr-8.1.1\bin\solr.cmd
C:\solr\solr-8.1.1\bin\
start -f -p 8985
solr_811 - Click “Install Service” and this will create a Windows service for Solr.
- Go to services, type services.msc in Windows Run and find a service named Solr, right click on it and click Start
- Once the service started successfully, open this in browser http://localhost:8989/solr
You have successfully setup Solr as a service on the new server, the last step is to run it with https. For this you can do it in two ways
Make sure you stop the Solr service before trying these options.
- Export certificate from old server and install it in new server
- Create a new certificate, keeping the same name
Option 1: Copy certificate from old server
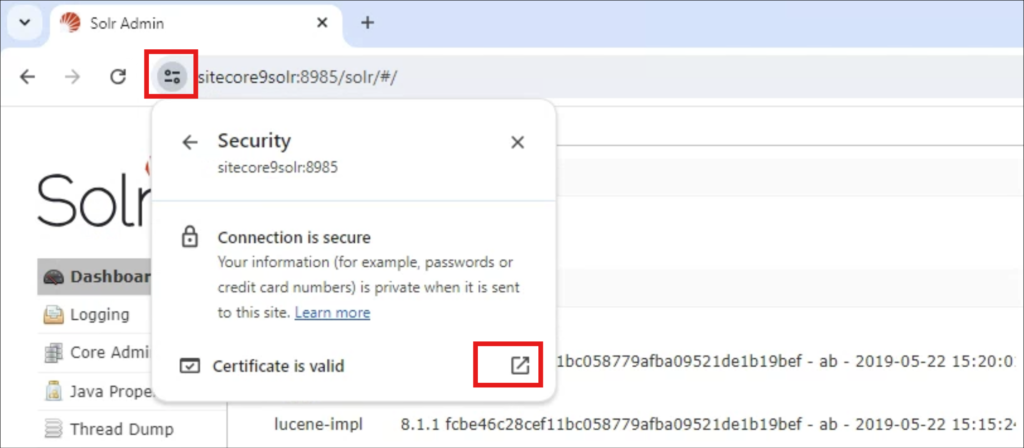
- In the old server, open Solr in the browser e.g. http://localhost:8989/solr and check the certificate name
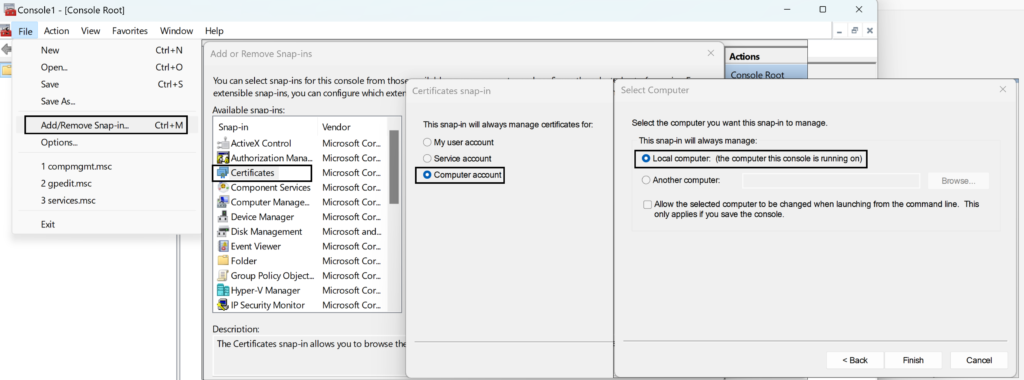
- Type MMC.exe in Windows Run
- In the opened Window Click File -> Add/Remove Snap-in.. -> Certificates -> Computer Account -> Local Computer -> Finish -> OK
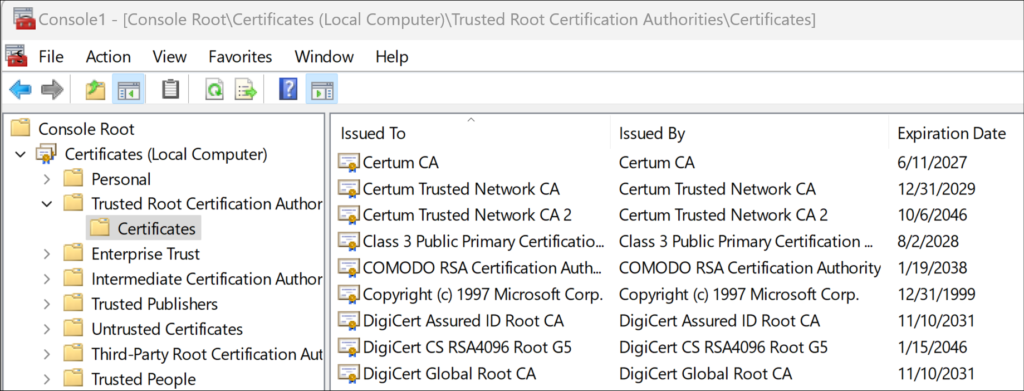
- Navigate to Certificates -> Trusted Root Certification Authority -> Certificates
- Find the Certificate with same name you found in point # 1
- Right click, All Tasks -> Export and save the file
- Go to the new server and you can import this file the same way by going to Certificates -> Trusted Root Certification Authority -> Certificates Right Click and Import
Create a new certificate, keeping the same name
Option 2: Create a new certificate, keeping the same name
You can also generate a new SSL Certificate
- Copy script from https://gist.githubusercontent.com/kamsar/c3c8322c1ec40eac64c7dd546e5124de/raw/01374d52253abb090d7f0195b8680c8396558f66/solrssl.ps1
- Change “keytool.exe” to full path e.g. ‘C:\Program Files\Java\jre1.8.0_361\bin\keytool.exe’ on line 37
- Save this in C:\solr directory
- Go to C:\solr\solr-8.1.1\server\etc and check the names of .jks and .p12 files. Same name should be used in command below
- Open Powershell as administrator and run .\solrssl.ps1 -KeystoreFile C:\solr\solr-8.1.1\server\etc\solr-ssl-keystore.jks
Finally start the Solr Windows service and change connection string in your Sitecore’s config file if needed.
Keywords: Sitecore, Solr, Solr migration, move Solr server, Sitecore Solr integration, Solr setup, Solr configuration, Windows service setup, Java environment variable, NSSM, SSL for Solr, Solr installation, Solr Windows service, Java path configuration, Solr certificate setup, Solr service management, Solr environment setup
Hashtags: #Sitecore #Solr #SolrMigration #SitecoreIntegration #SolrSetup #WindowsService #JavaConfiguration #NSSM #SSLforSolr #TechGuide #ServerMigration #SearchEngine #TechTutorial #SitecoreDevelopment #JavaPath #CertificateSetup #ServiceManagement